
Analyzing Facebook data with Power BI

We all know the Social Networks and how important they are in the current generations daily life, both at social and professional level. That’s the reason why lots of companies are interested in having the ability to see easily the opinion of their customers, both potential or usual, to improve their products or services. In this guide we are going to learn how to import the information of our social network Facebook and how to visualize it in Power BI Desktop.
1. Connection to Facebook.
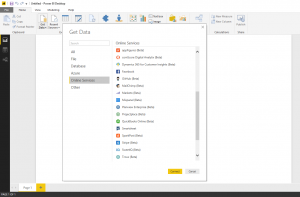
First, we access to Power BI Desktop and we select the option “Get Data”. On the next window we go to the option “Online Services”, also, we can type the social network name.
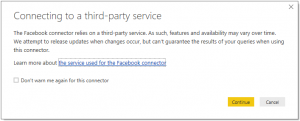
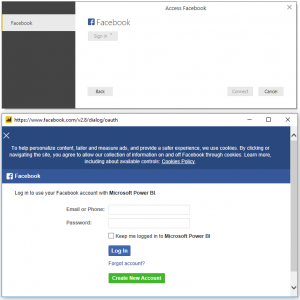
Select “Continue” in the following dialog box, which informs us that we are using a third party’s service.
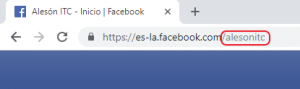
In the window that appears after, change the option of “User Name” to our “Facebook” web company address.
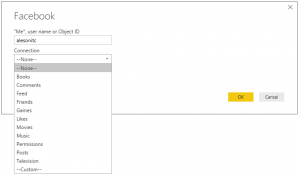
Change the option of “Connection” to the data that we want to get (Posts, Likes or Comments, among others) and we select “OK”.
After that, Power Bi asks us for the credentials of our “Facebook” account.
After connecting to the page, it will offer us a view of the data that we have extracted. It will be recommended to process some data, such as date and hour, to make easier their use on the Informs editor.
2. Data Processing.
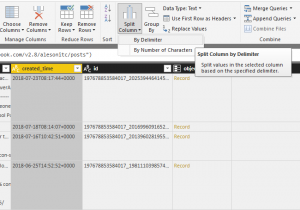
We select the “created_time” column and we make the division of that column with the “Split Column by Delimiter” option, as we show in the image.
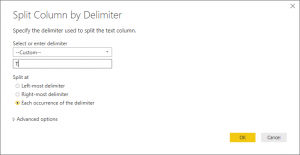
In the “ByDelimiter” dialog box we select the “Custom” option and we separate the “created_time” column into date and hour (we’ll do the separation by the letter T, just because it delimits both parts).
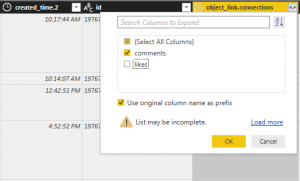
If we want to show the Comments amount per each message, we have to do it using a nested column, selecting the icon placed on the right top part of the “object_link” column.
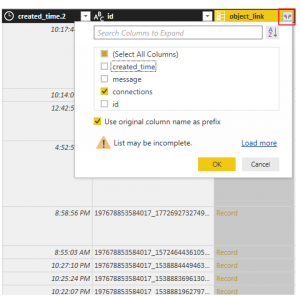
We’ll do this step again, but this time selecting the Comments option.
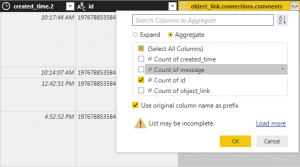
We repeat this step again, but this time accessing to “Aggregate” rather than “Expand”, as we’ve done the previous times, and we select “Count of id”.
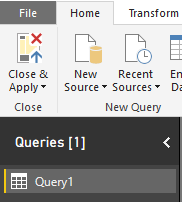
To finish the edition, we select “Close and Apply” to import the data to Power BI Desktop.

Now, we already have all the “Facebook” data that we wanted and we can start to design our inform.
I show my example to see some things that we can do using the Facebook data with Power BI Desktop.
If you want us to help your business or company contact us at info@aleson-itc.com or call us at +34 962 681 242
Business Intelligence Analyst, trabajando principalmente con plataforma de datos Microsoft, SQL Server, SSIS, Power BI y Reporting Services
