Azure Bastion: Securely connect (SSL) to your Virtual Machines
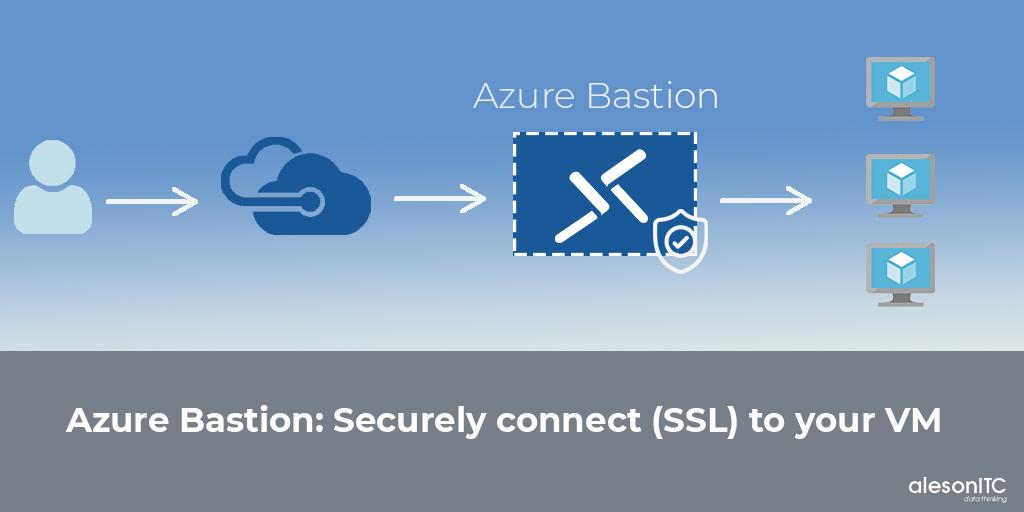
Today we return with a new entry about a very interesting Azure service, we are going to talk about Azure Bastion, a PaaS resource that will provide greater security to our architecture.
With this new tool we can connect to our Virtual Machines without the need to have a Public IP on our servers, from the browser we access our server by SSL/TLS, and thus avoid putting our architecture at risk.
The use of Azure Bastion provides us with additional security in our virtual machines, since we are not exposing our servers to the Internet through a Public IP and connection ports (RDP and SSH), without the need for an additional client, agent or software .
When we connect to our servers through Bastion we do not need a Public IP, since through this service we access them through the web browser as we will see in the Step by Step below.
Azure Bastion Benefits
- RDP and SSH directly on the Azure portal: We can directly access our RDP and SSH session on the Azure portal with a single click.
- Remote session over TLS: Azure Bastion uses an HTML5-based web client, which transmits our connection to our server, thus obtaining an RDP / SSH session over TLS on port 443.
- No public IP in the Azure virtual machine: The connection to our server will be through Private IP, we do not need a Public IP to connect.
- No NSG administration: Being a PaaS service is fully managed by Azure, we don’t need to apply any NSG (Network Security Group) in the Azure Bastion subnet.
- Protection against port scanning: Since we do not have to expose our servers to the internet through a Public IP, our machines are protected against port scanning.
Creation of the Bastion Service in Azure
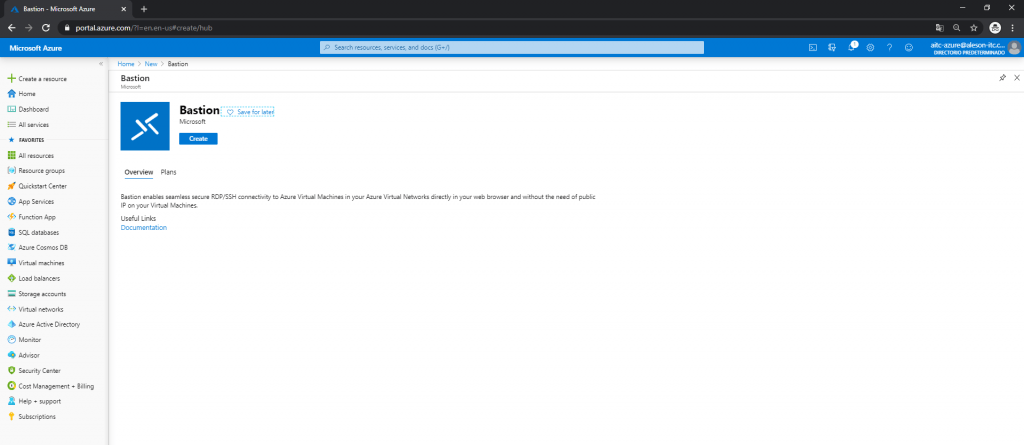
First, from the Azure Portal, we go to “Create a resource” and search for “Bastion”:
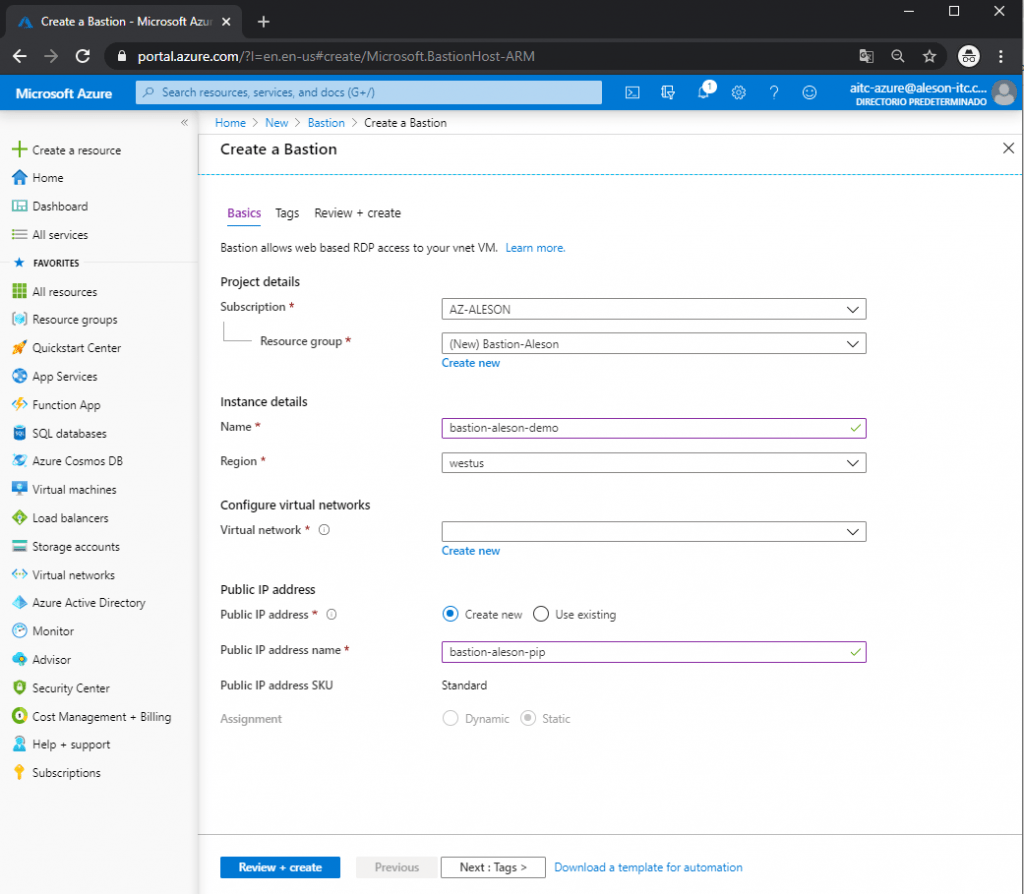
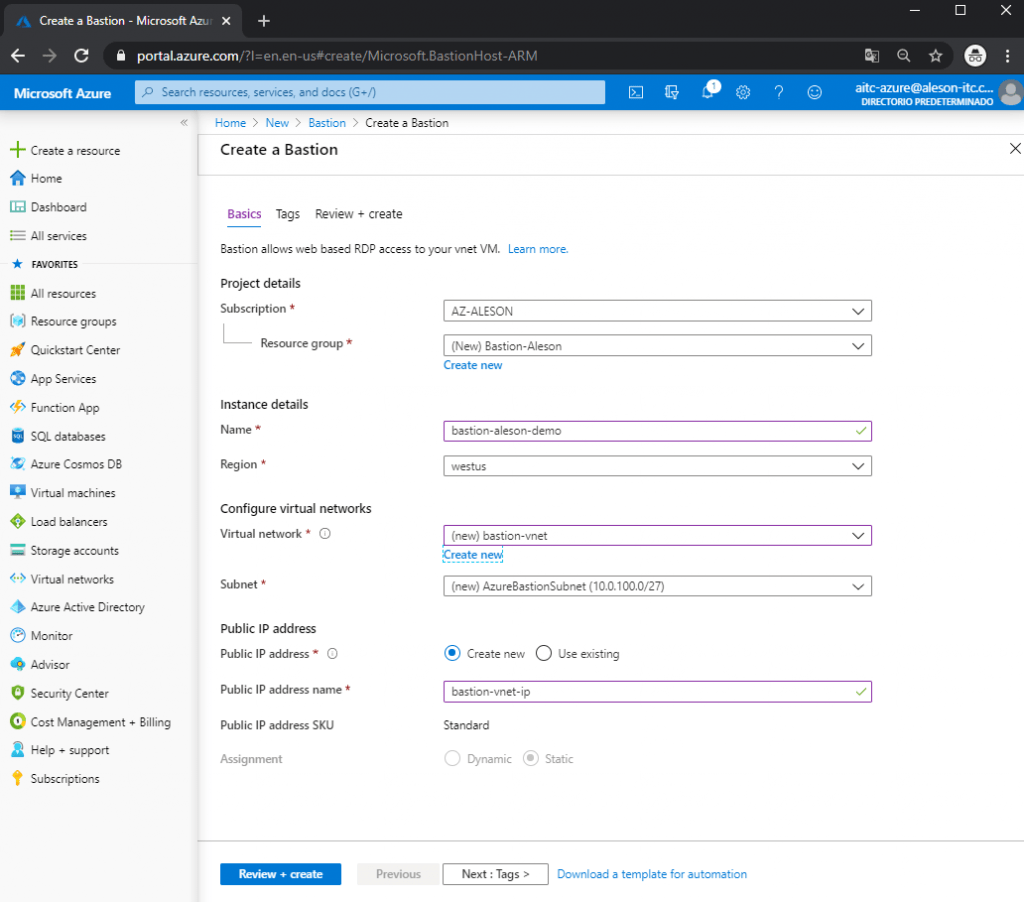
In the first point we must choose our Subscription, the Resource Group where we want to create this service, the name that we want to give it, the region, the Virtual Network (which involves a creation with special characteristics) and a Public IP:
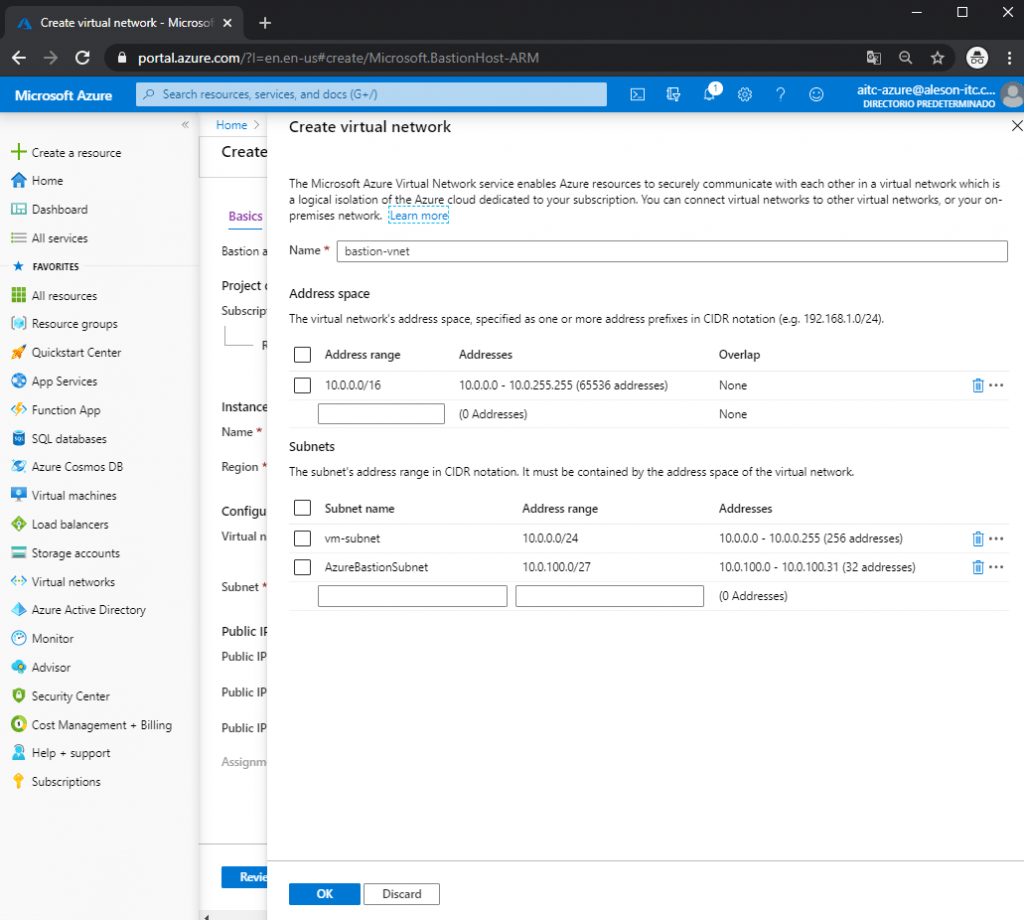
As I mentioned before, our Virtual Network must have a Subnet called “AzureBastionSubnet” and an IP range with prefix / 27:
Creation of Our Service
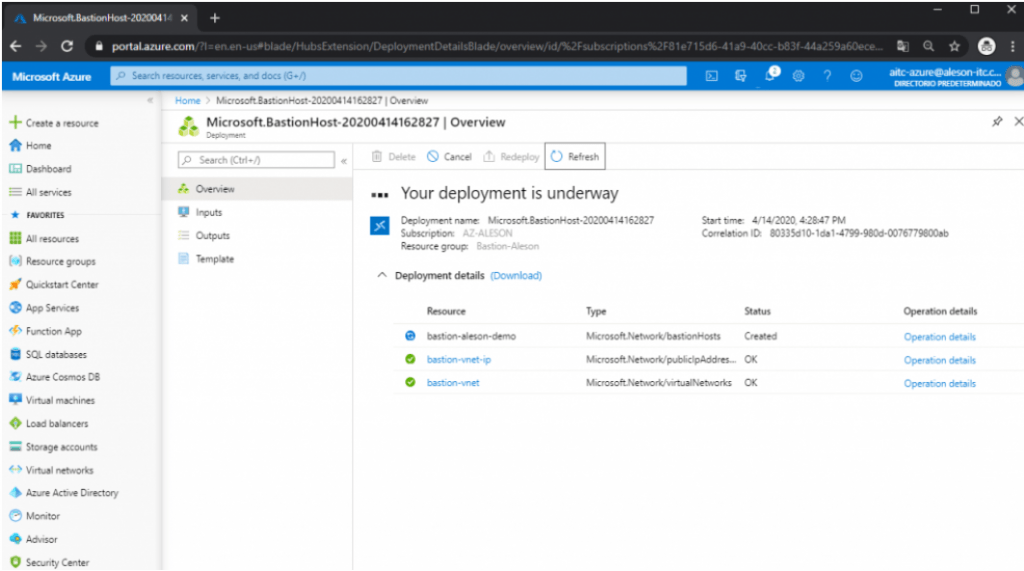
We wait for it to be deployed, since it usually takes about 5-10 minutes to deploy:
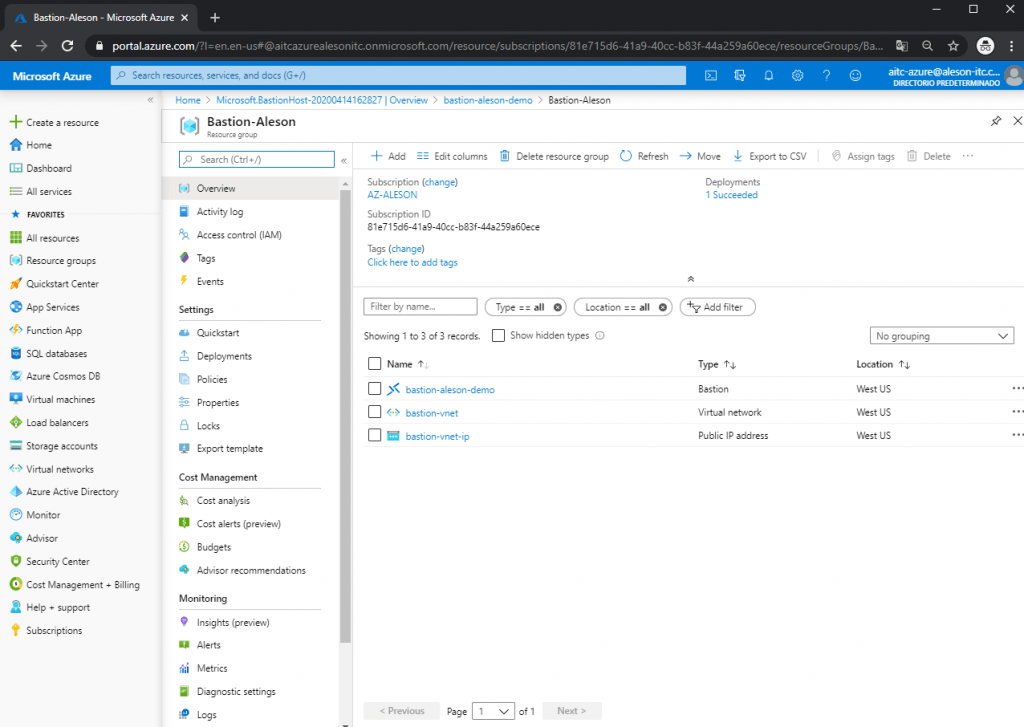
Once Bastion is created, these are the resources that are created within our resource group:
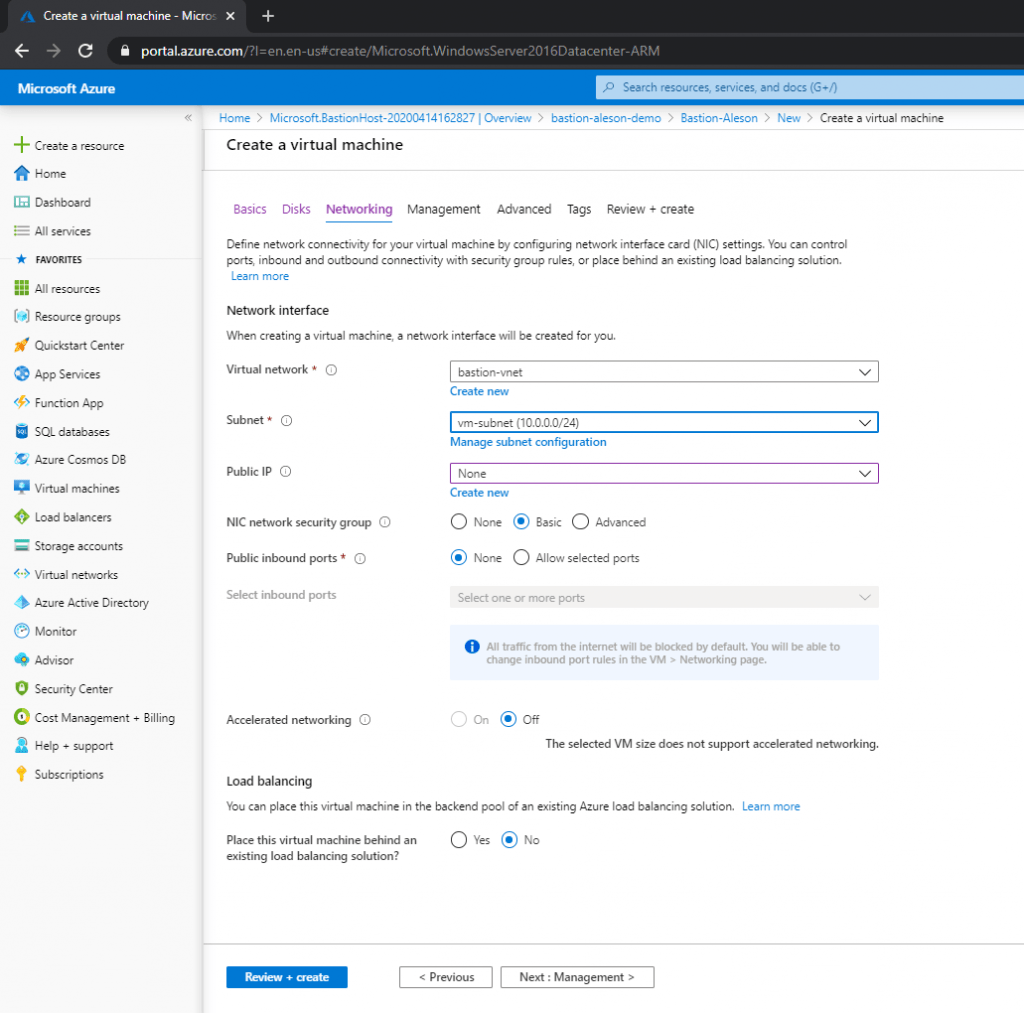
To test this functionality, we are going to host a Windows server and a Linux server within the same Virtual Network to perform a connection test using the web browser.
In this entry I made you can see how to Create a Virtual Machine in Azure , the only peculiarity of this creation is that in the Networking part we are not going to carry out the creation of a Public IP:
Once we have our server, we enter the Virtual Machine resource, and at the top we click on “Connect” and in the drop-down that appears we click on “Bastion”:

A new window will appear where we must enter the Username and Password:
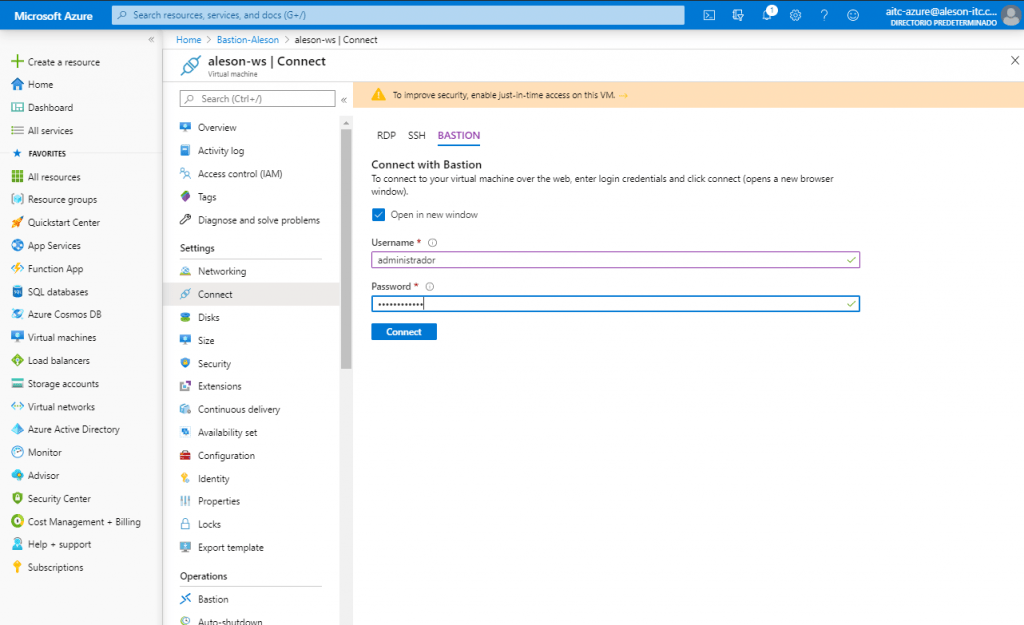
And automatically it will open a new window in the Web browser where we will see the desktop of our Windows Server:

Verification
Seeing this, we are going to perform the test to connect to a Linux server, following the same steps as before, we enter our credentials to access the Ubuntu server that we have created without Public IP (We can also access it through SSH Private Key):

And as we can see, a new tab has been opened in the browser where we can manage our Ubuntu server:

In short, this service offers us to secure our entire platform without having any vulnerable point, and without the need to have public IPs or mount a Site-to-Site or Point-to-Site VPN to connect to our architecture.
If you have performance issues in Managed Instance or SQL Server, or if you are planning to migrate to Azure, we have the experience to help and advise you, contact us at info@aleson-itc.com or call us at +34 962 681 242
Azure Solutions Architect, Infraestructura e Implementación. Centrado principalmente en la plataforma Azure, la arquitectura de red y la innovación.

