Learning to Connect PowerApps with SQL Server

It’s time to do more interesting things with PowerApps. In this entry, we will connect PowerApps to a SQL Server table by inserting a DataTable, because it is a good way to show data on the PowerApp.
1: Scenario.
To begin, let’s create a blank PowerApp. At first, we will see the following screen:

2: Adding a DataTable.
Let’s click on “Insert” and we will open the menu of elements to insert in the PowerApp.

The next step will be to insert the data table, to do this, we click on the “Data Table” button.

Once added the DataTable, we should choose the connection with which we want to create the viewing.

We see that no data appears in the table, that is because we have not established any connection. In our case, we chose the gateway called “PowerAppsTest” and it points to the database with same name, then we select the table we want to show, in our case “[ejem]. [Employees]”.


When the table is inserted, it will appear like this:

As we can see, a message appears in the table saying that we have not selected any field in the data table, so we have to select the “check” of the fields of the table that we want to show.

If you are interested in the Power Platform, don’t hesitate to consult our Data Analytics page.
3: Testing.
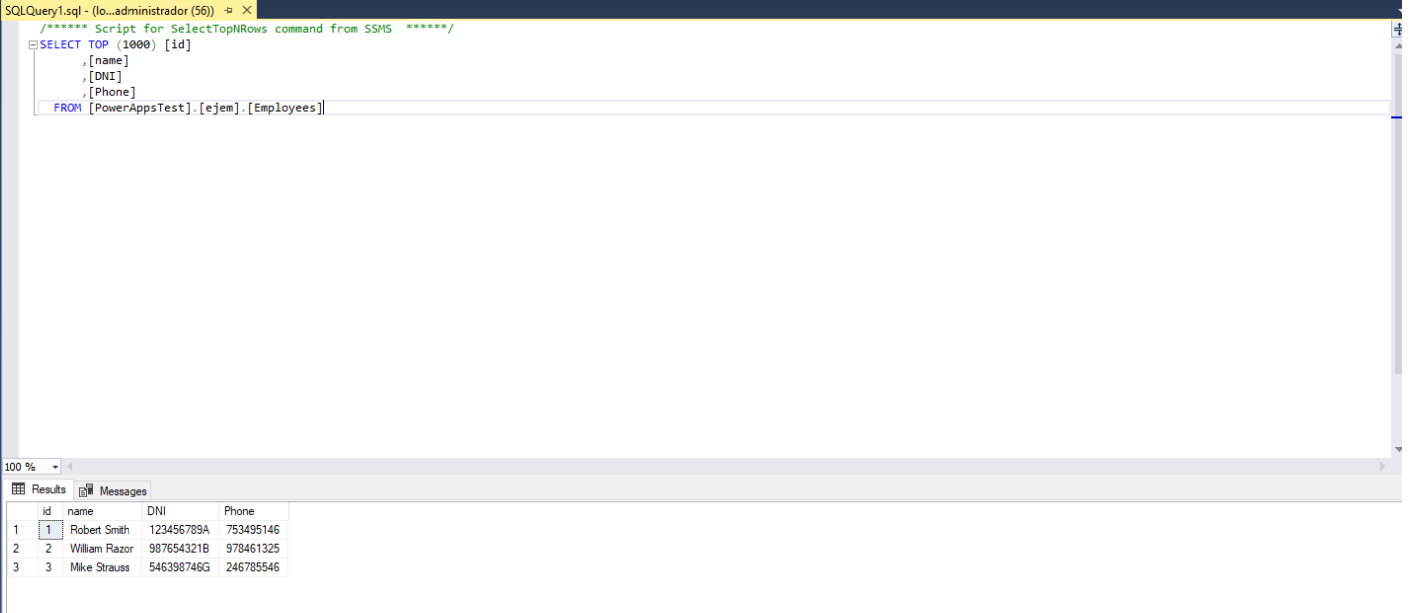
We will make a query from SQL Server that shows us the data of this table, to see if they agree with the data shown by the application.

In the following entries we will see how to delete data or insert data in SQL Server through a PowerApp.
If you want us to help you with the support of your SQL Server in your business or company, contact us at info@aleson-itc.com or call +34 962681242.

Azure Data Engineer con más de 7 años de experiencia. Conocimiento de múltiples herramientas y enfocado en el mundo del dato. Experto en tuning de queries y mejora de rendimiento de Base de Datos. Profesional apasionado por la tecnología y los deportes al aire libre. En mi tiempo libre, me encontrarás jugando vóley playa o disfrutando con nuevos videojuegos.

