Creation of ALERTS using AZURE MONITOR

Hi everyone!
In this post we will learn how to deploy alerts using Azure Monitor. The alerts are useful to know when occur a performance failure in our resources. In this way, we can solve the problem quickly and more accurate.
Before starting to create alerts we need to know that the alerts are separated in two points:
First, ACTION GROUP, composed by type of notification, calls, sms, email, etc and contact details. The action group can store different kind of notifications. Example: Send the alert by two different emails, a sms and calls to different numbers.
Second, will be the CONDITIONS thereby activating the alert rule.
This said, we will continue creating alerts for virtual machines as an example.
Create ACTION GROUPS:
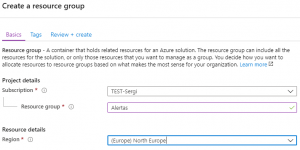
Enter our Azure portal and create a Resource group where the action groups will be stored.

Access to the new Resource Group. In the left part of the window, Monitoring and click on Alerts.

Then will appear new options at the top. Press Manage Actions.

Select Add action group option.

A new window will appear in the right side that will request the following information
- Action group name: This box is used to name the action group

- Short name: Name linked to the notification sent by email, sms, calls, etc.

- Subscription: To which we want the action group to be linked
- Resource group: Resource group that we just created where the action groups will be stored.

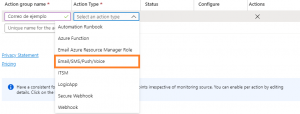
- Action group name: Name of the notification, in our case we will try using Email.

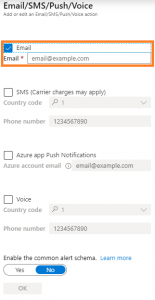
Mark email option, add our email and save.

After this we will create the alerts.
Create ALERTS:
Now go to the resource group once again. Left menu, Monitoring and click on Alerts.
This time press on New Alert
In the following window select the resource that we want to add the alert. First, select the subscription and then the resource. In our case we will use a Virtual Machine.
Now add the CONDITION. We will use the CPU metric.
To adjust the condition we need to monitor the machine so the alert notifies us when the values are out of the ordinary
- Operator: condition to activate the alert.
- Aggregation type: We can select the type of data.
- Aggregation granularity: Period of time that define how many time the condition need to be active.
- Frequency of evaluation: How often the alert is evaluated.
Save and continue.
Next step, select the action group that we have created.
Last step, add the name, description of the alert and the type of severity.
Here is a guide of the different types of severity:
Sev 0 = Critic
Sev 1 = Error
Sev 2 = Advert
Sev 3 = Informative
Sev 4 = Detailed
Be aware that the action groups will be stored in the resource group that we have created but the alerts will be stored in the resource group that is linked the resource.
Hope this information will help you. If you have any question you can contact us at info@aleson-itc.com.

Database Administrator. Centrado en la monitorización y el rendimiento de las bases de datos.

