
Login in Reporting Services with Users from another Domain
The purpose of this entry is to verify the connectivity to access a SQL Server Reporting Services using a trust relationship between two domains.
This makes it possible to connect to the report with users from another domain.
1. Requirements:
First we have to prepare the following architecture.
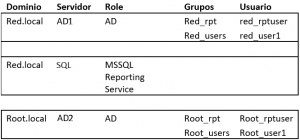
Domain: red.local
- Windows Server AD: AD1
Local group: Red_rpt and user Red_rptuser
Group: Red_users and user Red_user1
- Server: SQL
Microsoft SQL Server 2016y Reporting Services.
Domain: root.local
- Windows server: AD2
Group: Root_rpt and user Root_rptuser
Group: Root_users and user Root_user1
Once all this is done we can start with the practice.
2. Guide:
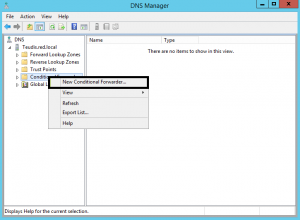
Go to AD1, open the DNS Manager, select our domain, right click on conditional Forwarders and click on a new conditional forwarder.
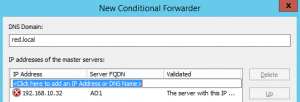
Add the name of the domain and the IP of the domain controller AD2

Now we will go to the AD2 server and perform the same steps, but we will add the domain of the AD1 server and the IP.
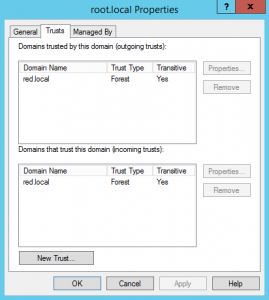
Return to AD1, open the Active Directory Domains and Trust window, right click on our domain and click on properties.
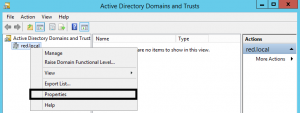
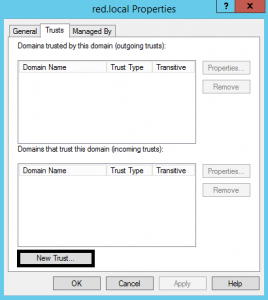
In the pop-up window, go to the Trust tab and click on New trust
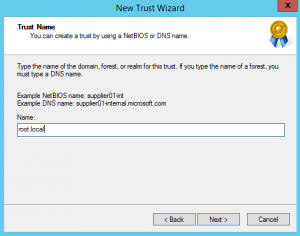
Add the domain with which we want to create the trust relationship:
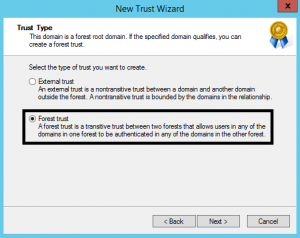
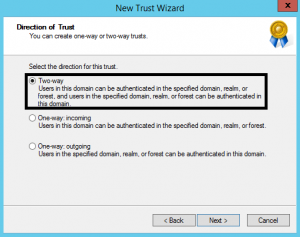
Select the option Forest trust , so users of both domains can be validated.
Mark bidirectional
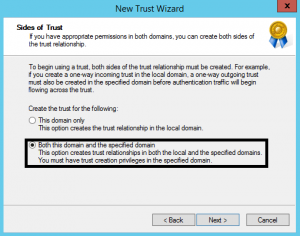
The wizard allows us to configure the trust relationship in the other server also.
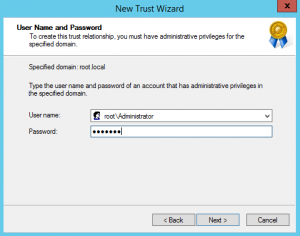
Introduce the AD2 credentials.
Mark the Authentication in the whole forest both input as well as output. Confirm the confidence of entry and exit.
The next window shows the changes that have been made.
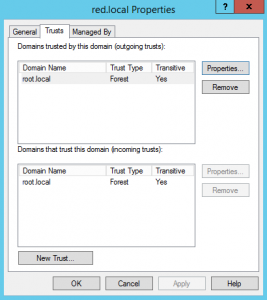
Verify that it has been created on both servers.
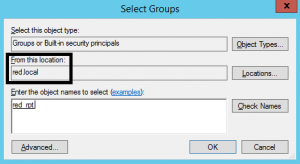
Once the trust relationship is created: add the group Root_rpt (Domain Root.local) within the group Red_rpt (Domain Red.local)
Go to AD1, open AD Users and Teams. Open the properties of the Red_rpt group, Security tab and click on Add.
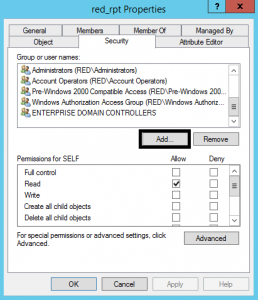
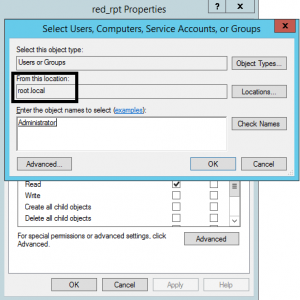
Add the user Administrator of the root.local domain and give it all the permissions
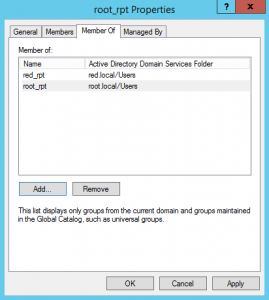
Go back to AD2, open Active Directory Users and Computers, properties of the Root_rpt group, member of and click add.
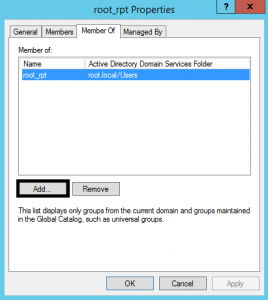
Add the Red_rpt group of the red.local domain.
Go to the SQL server, open the following URL http: //localhost/reports (Previously we must have created a report and a folder for each group: Red_rpt and Red_users).
Entering the URL we will see the folders that we have created.
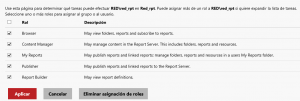
Right click on Red_rpt and press Manage
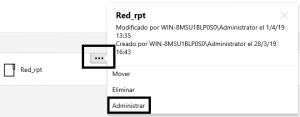
In the left part of the screen we will see the option Security. Once inside add the group Rpt_adm.
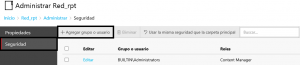
Assign the permissions that we want and accept.
To finish, we will do following checks:
3. Testing.
Open a new browser in private mode and enter http://localhost/reports/browse/red_rpt. We try to enter with the user red_rpt and root_rptuser and if everything went well we can see the contents of the folder.

Finally we have to check that the access to the folder is only possible with the user group Rpt_adm.
Try with red_user1 and the password.
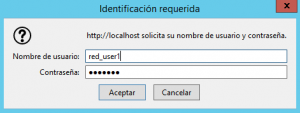
When we enter the username and password, access will not be available.


Database Administrator. Centrado en la monitorización y el rendimiento de las bases de datos.
