📧 Mailchimp – Avoid Newsletter to be marked as Spam
Surely that everybody know the MailChimp platform, and for those who don’t, it’s one of the most powerful tools of Email Marketing nowadays, besides being characterized by its simplicity and easy to use.
It ‘s possible that when analyzing the data of your company you realize that in some occasions our Newsletter or promotional emails reach the spam folders of the subscribers. That is why, in today’s post we are going to discuss how we can avoid this redirection of our mails to the spam folder.
First of all, we must bear in mind that Mailchimp has some spam filters that use a lot of standard to judge outgoing emails. The factors are examined and added together to assign a spam score, which determines whether or not the campaign passes the filter. In order to pass these filters, we must always bear in mind the following tips:
- The email address is more likely to redirect our email to spam if the recipient has a gmail account. We will also check our IP to know if spam campaigns have been sent from this IP before, and whether or not you are on the list of subscribers’ contacts.
- The subject line, it’s advisable to write only the first letter in capital letters, taking care of the spelling mistakes and trying to be as specific as possible.
- The content of the message must be a clear, simple and balanced content.
- Do not try to sell directly, I recommend that the newsletter be for customer loyalty or inform them of news and events.
- Take care of the design of the newsletter, the design has to be proportional with respect to the images and texts.
- Always include secure and reliable links.
In addition to these tips so that your campaign arrives correctly to the subscribers we will have to make a small configuration. These are two simple steps that I explain below:
- Verify the domain
This first step provides a traceable indicator that tells the subscriber’s Internet service provider that you are a legitimate sender, so that it helps your campaign reach the subscriber’s inbox.
To start with domain verification we must access Mailchimp, click on your profile and select “Profile”, “Settings” and finally “Verify Domain”.
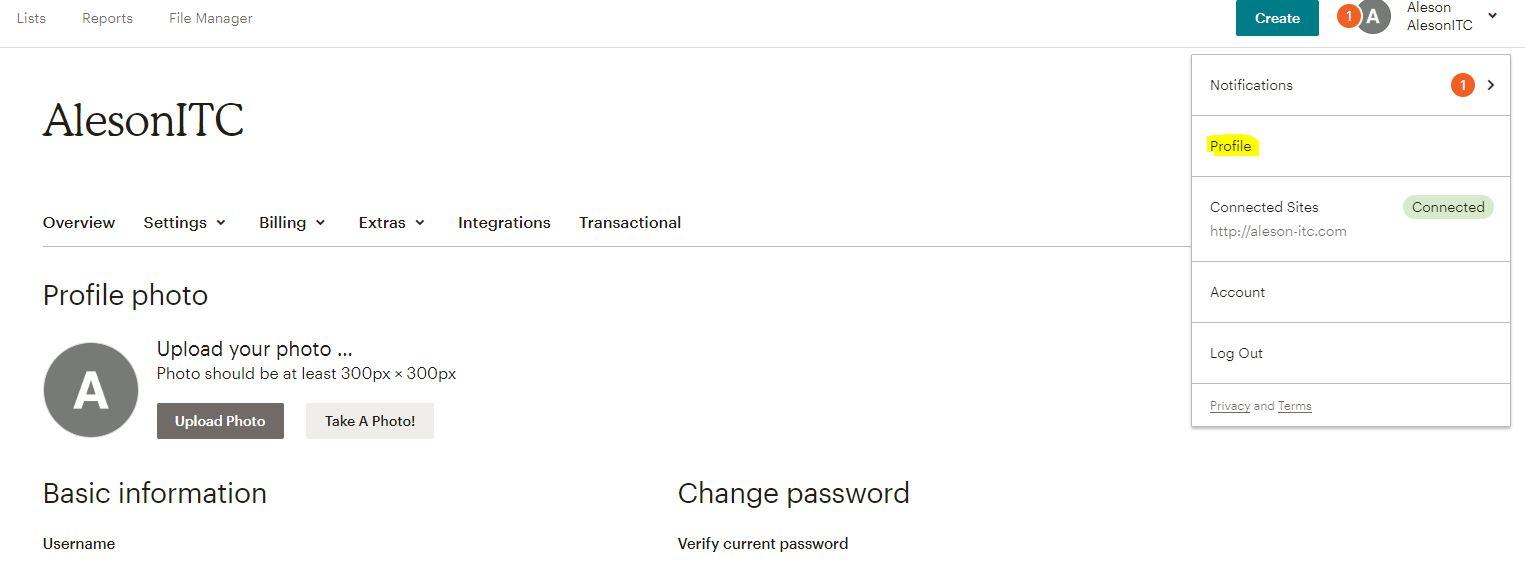
To verify the domain, click on “Verify Domain”.
Here we will see a tab that indicates that you must indicate that you have access to the email account from which the campaigns will be sent. You will have to enter an email address of your domain and you will receive a confirmation email, in which a code will appear, that you will have to copy and paste in the verification tab that we have still open.


Once we have our verified domain, we will move to phase 2:
If you want us to help you analyze your Company’s Data, visit our Data Analytics page.
2. Authentication
Click on Authentication and this tab will show you:
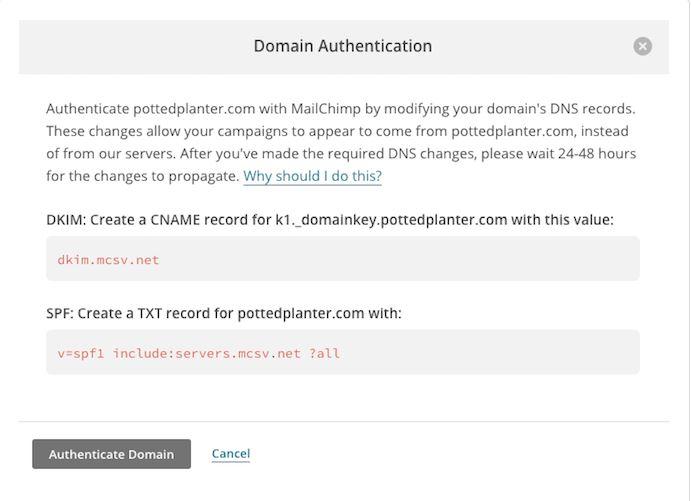
To authenticate your domain, go to your domain provider’s site. Next, it uses the DKIM and SPC information from Mailchimp to update the DNS records.
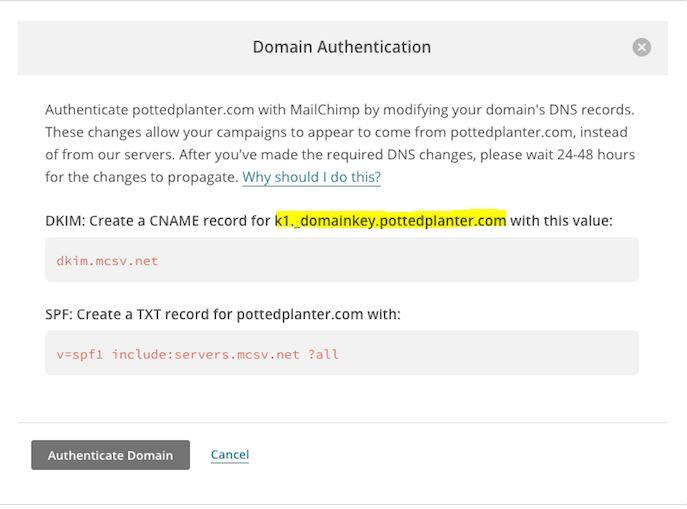
Depending on your domain provider, the configuration will be different. You must find an icon in which you enter “DNS entry”. Here you must add a new DNS entry and copy the data provided by MailChimp.
In input type, you must select CNAME.
And at the end, in value, we are going to put the CNAME value indicated by MailChimp.
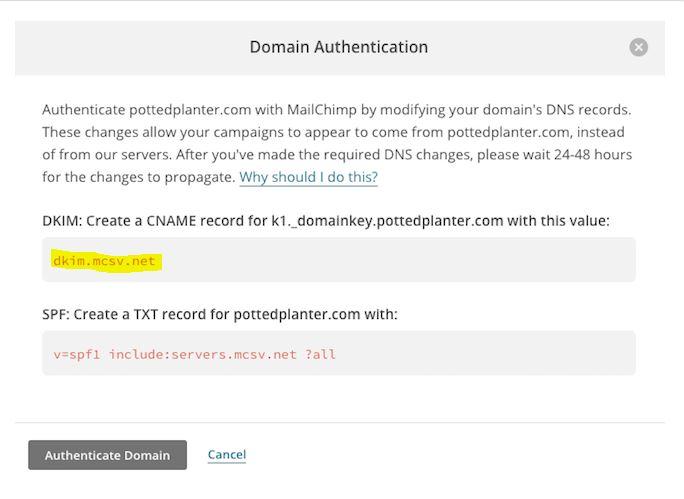
Click add and we will have the first part of the configuration completed.
The next step will be to add another DNS entry. In name, we will put the name of our domain and in type of entry we will have to select TXT.
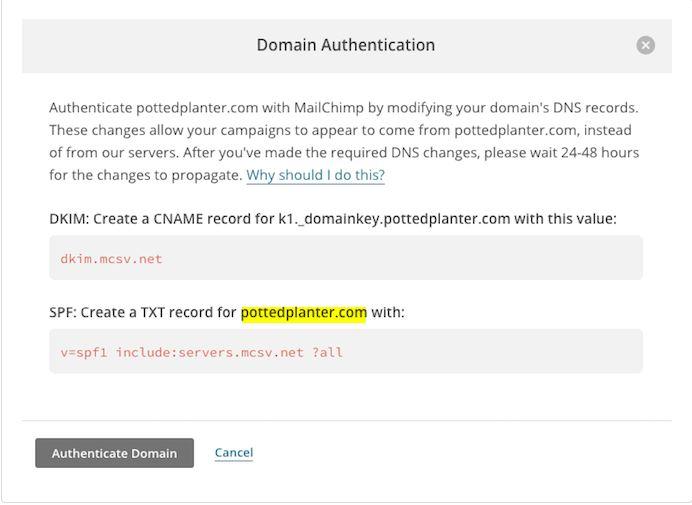
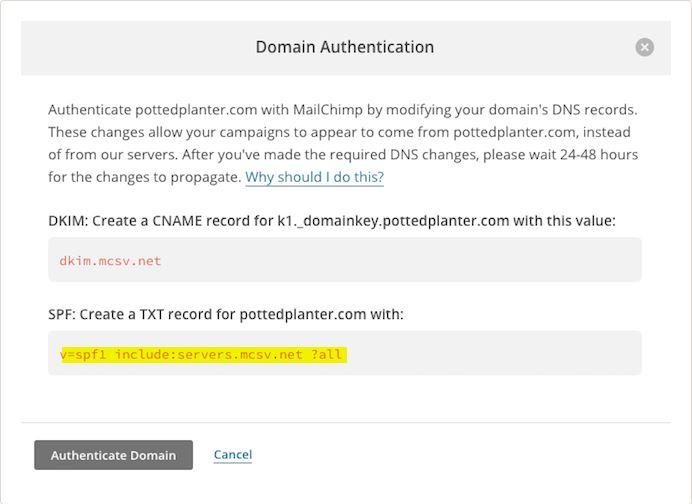
And finally, in value we will put the one that MailChimp gives us. Press add and the authentication of our domain will be ready.
From now on, your shipments should go to the inbox in a satisfactory way.
We hope this post has been useful for you.
If you want us to help your business or company, contact us at info@aleson-itc.com or call us at +34 962 681 242
Marketing and Communications Specialist. International Trade, Business Management, SEO, PPC.

