
How to Create “TOOLTIP” in Power BI

With Power BI Desktop we can create “Tooltip” with our reports to visualize it, when we keep the mouse pointer on the added visual objects. This “Tooltip” pages can be associated to one or several fields of reports as desired. In this post, we are going to follow the necessary steps to create these useful information windows, and make the most of your company’s business intelligence.
1. Tooltip Design.
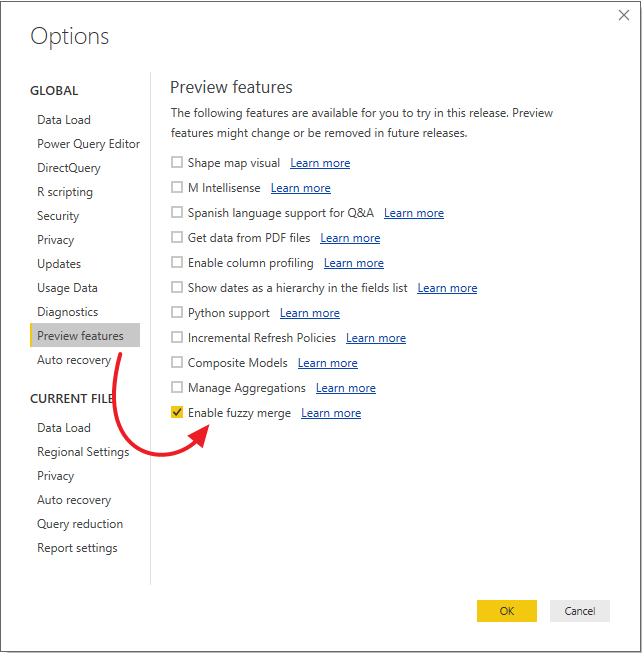
First, we access to “File” > “Options and Settings” > “Options” > “Preview features” and check the box “Enable fuzzy merge”.

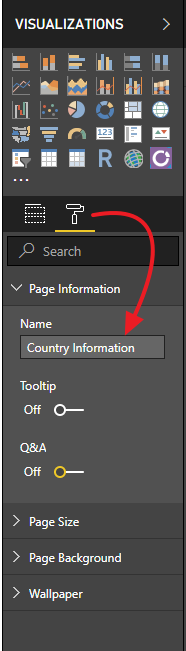
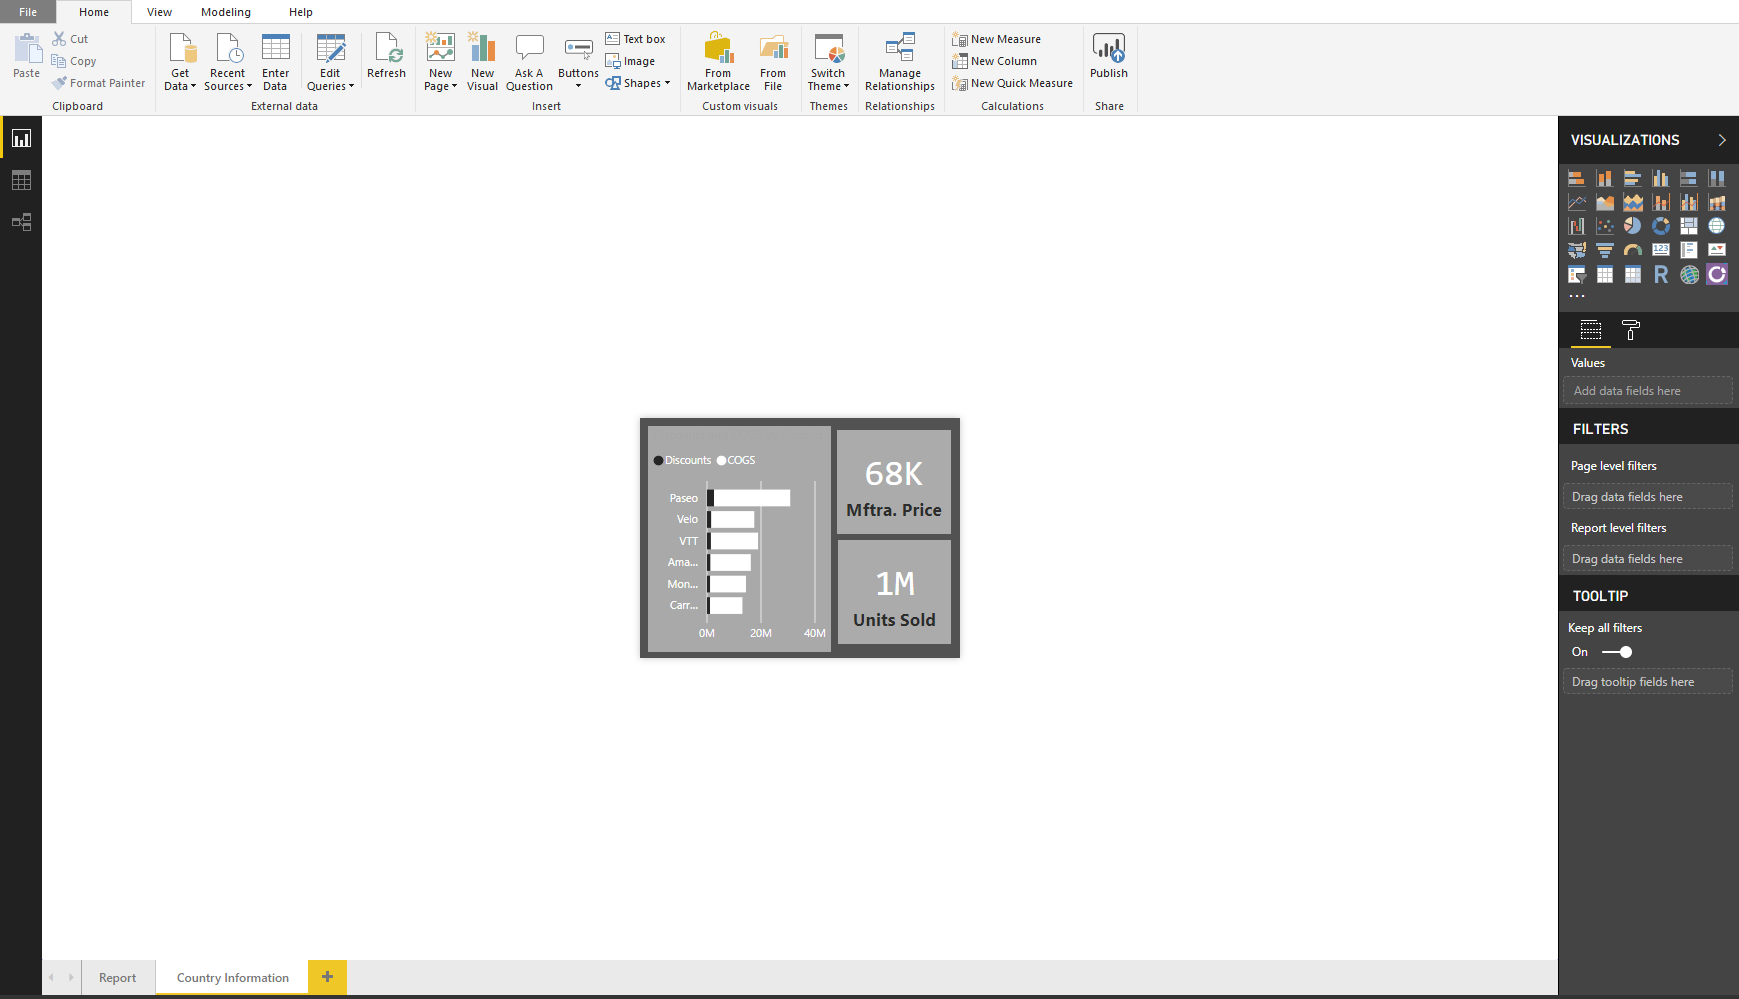
After that, we create an additional page, in which we will design the “Tooltip” (it is recommended to rename the window for a better order later).
We must bear in mind that, our “Tooltip” will be located on a report and must be of a reasonable size so as not to fill and excessive part of it.
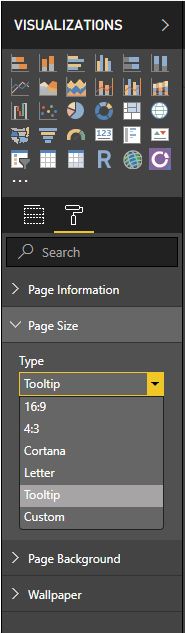
To decrease the size of our window we must go to “Format” > “Page Size”, where we can find different templates offered by Power BI Desktop, for this example select the template “Tooltip”, since it provides an ideal size for our information window.
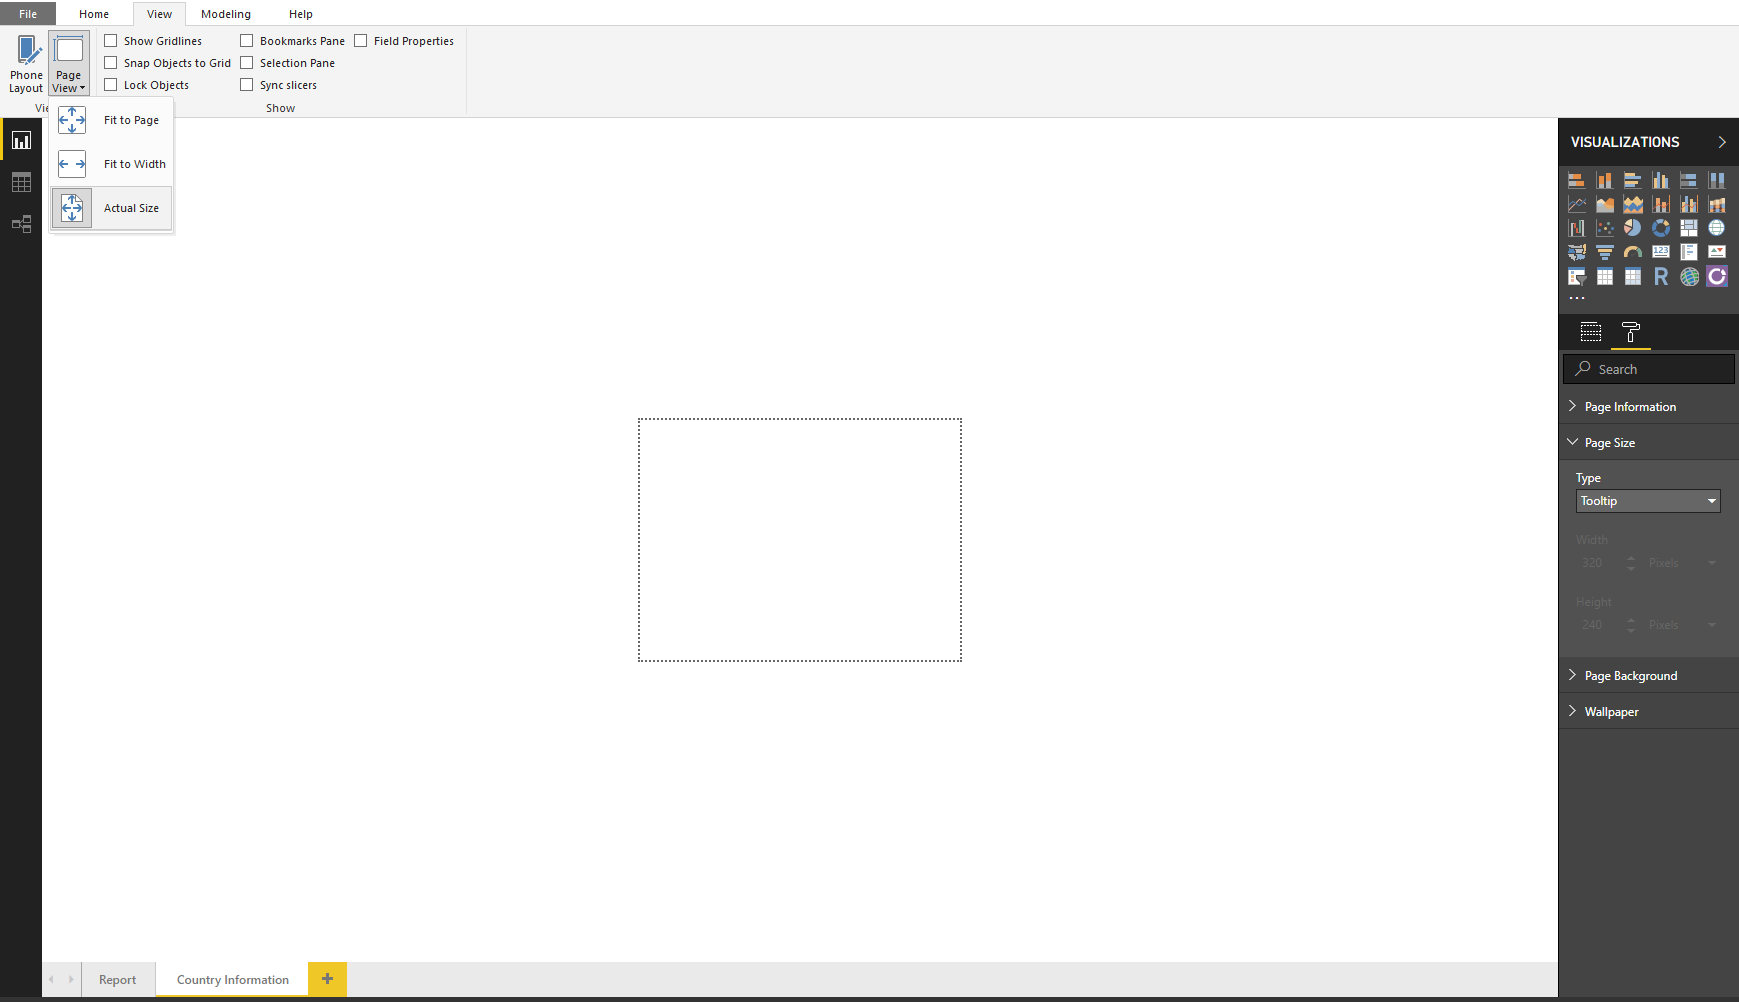
It will be advisable to modify the page view, for a better visualization of the available design area of the window data, since Power BI Desktop adapts its size to the available space.
Now we can create visual effects that can be displayed in the information window.
If you are interested in the Business Intelligence World, don’t hesitate to visit our Data Analytics Page.
2. Tooltip Settings.
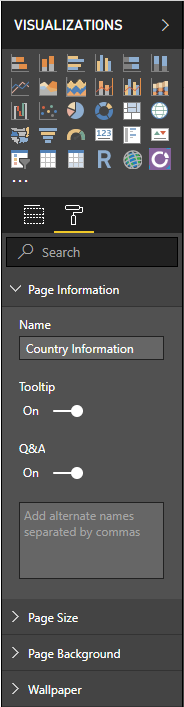
We do not yet have an additional configuration to be able to use the “Tooltip” in our report. First, access the “Page information” and activate the option “Tooltip”.
3. Tooltip Assignment.
There are two possible ways to “Tooltip” assignment to our reports, assign the window to one or more specific fields or assign those windows to one or more specific panels.
3.1 Assign to Field.
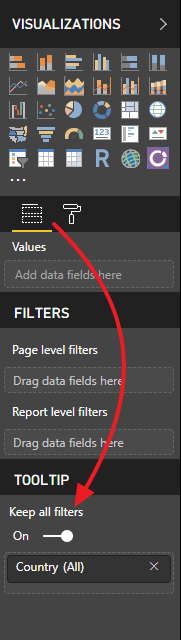
To assign a “Tooltip” to one or more fields we access to page, which contains the “Tooltip” design and select the desired filters, as shown in the image.
3.2 Assign to Panel.
1- To assign a “Tooltip” to one or several panels we access to page, which contains the panel design to which we want assign the “Tooltip”.
2- In “Format” options, we select “Tooltip”
3- In the page drop down we select the the name of the page in which the “Tooltip” design is located.
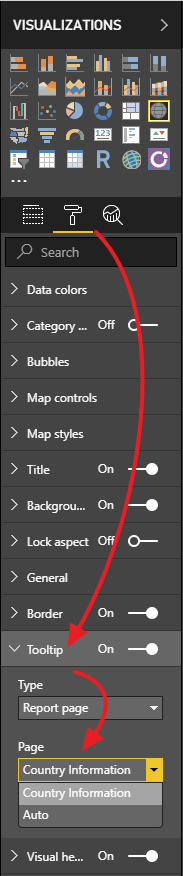
If we want to return to the default view we must only perform this last step by selecting the “Auto” option.
For more information, visit our Data Analytics Service or contact us in info@aleson-itc.com.
Business Intelligence Analyst, trabajando principalmente con plataforma de datos Microsoft, SQL Server, SSIS, Power BI y Reporting Services